How to Mount Solar Panels on a Roof Rack
Mounting solar panels on a roof rack, whether for a house, a commercial building, or a vehicle, requires both correct technique and careful safety practices. A well-installed solar system not only performs efficiently but also lasts for decades without damaging the roof. This guide explains the process, key considerations, and tips to ensure a safe and effective installation.
Understand Your Roof and Rack System
Before starting, assess the type of roof and rack system you’re working with:
- Roof Types: Asphalt shingle, tile, metal standing seam, or flat roofs each require different mounting hardware.
- Rack Types: Fixed racks, adjustable tilt racks, or custom frame systems. For vehicle applications, roof racks may be pre-installed or aftermarket.
Knowing your roof and rack type ensures you choose the right mounting brackets, flashing, and fasteners, reducing the risk of leaks or instability.
Gather the Right Tools and Materials
Essential tools:
- Cordless drill & driver bits
- Measuring tape and chalk line
- Socket wrench set
- Torque wrench
- Safety harness and roof anchors
Essential materials:
- Solar panels (size and wattage per your design)
- Mounting brackets/clamps (end clamps, mid clamps)
- Rails (aluminum is common for corrosion resistance)
- Roof flashing (to prevent water ingress)
- Stainless steel bolts, nuts, and washers
- Grounding lugs and bonding jumpers
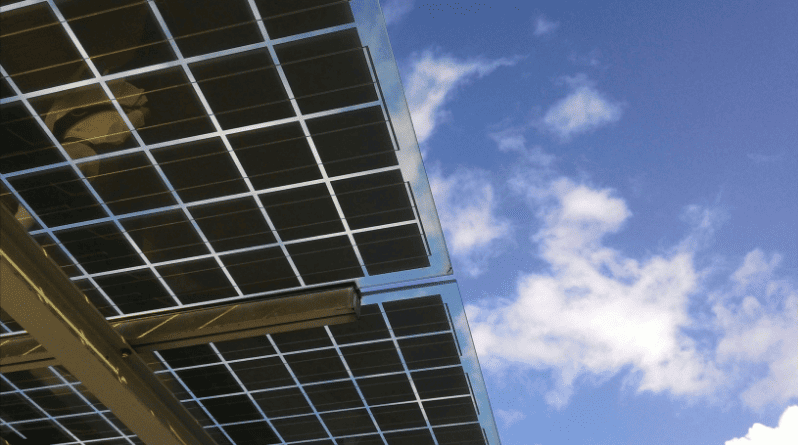
Plan the Layout
- Sun Exposure: Panels should face true south (northern hemisphere) or true north (southern hemisphere) for maximum sun exposure.
- Tilt Angle: Match or optimize for local latitude to maximize energy yield.
- Row Spacing: Ensure panels in one row do not shade those behind them, especially in winter.
- Structural Load: Confirm the roof can handle the combined weight of the rack, panels, and environmental loads (wind, snow).
- A precise layout helps avoid last-minute adjustments and ensures system efficiency.
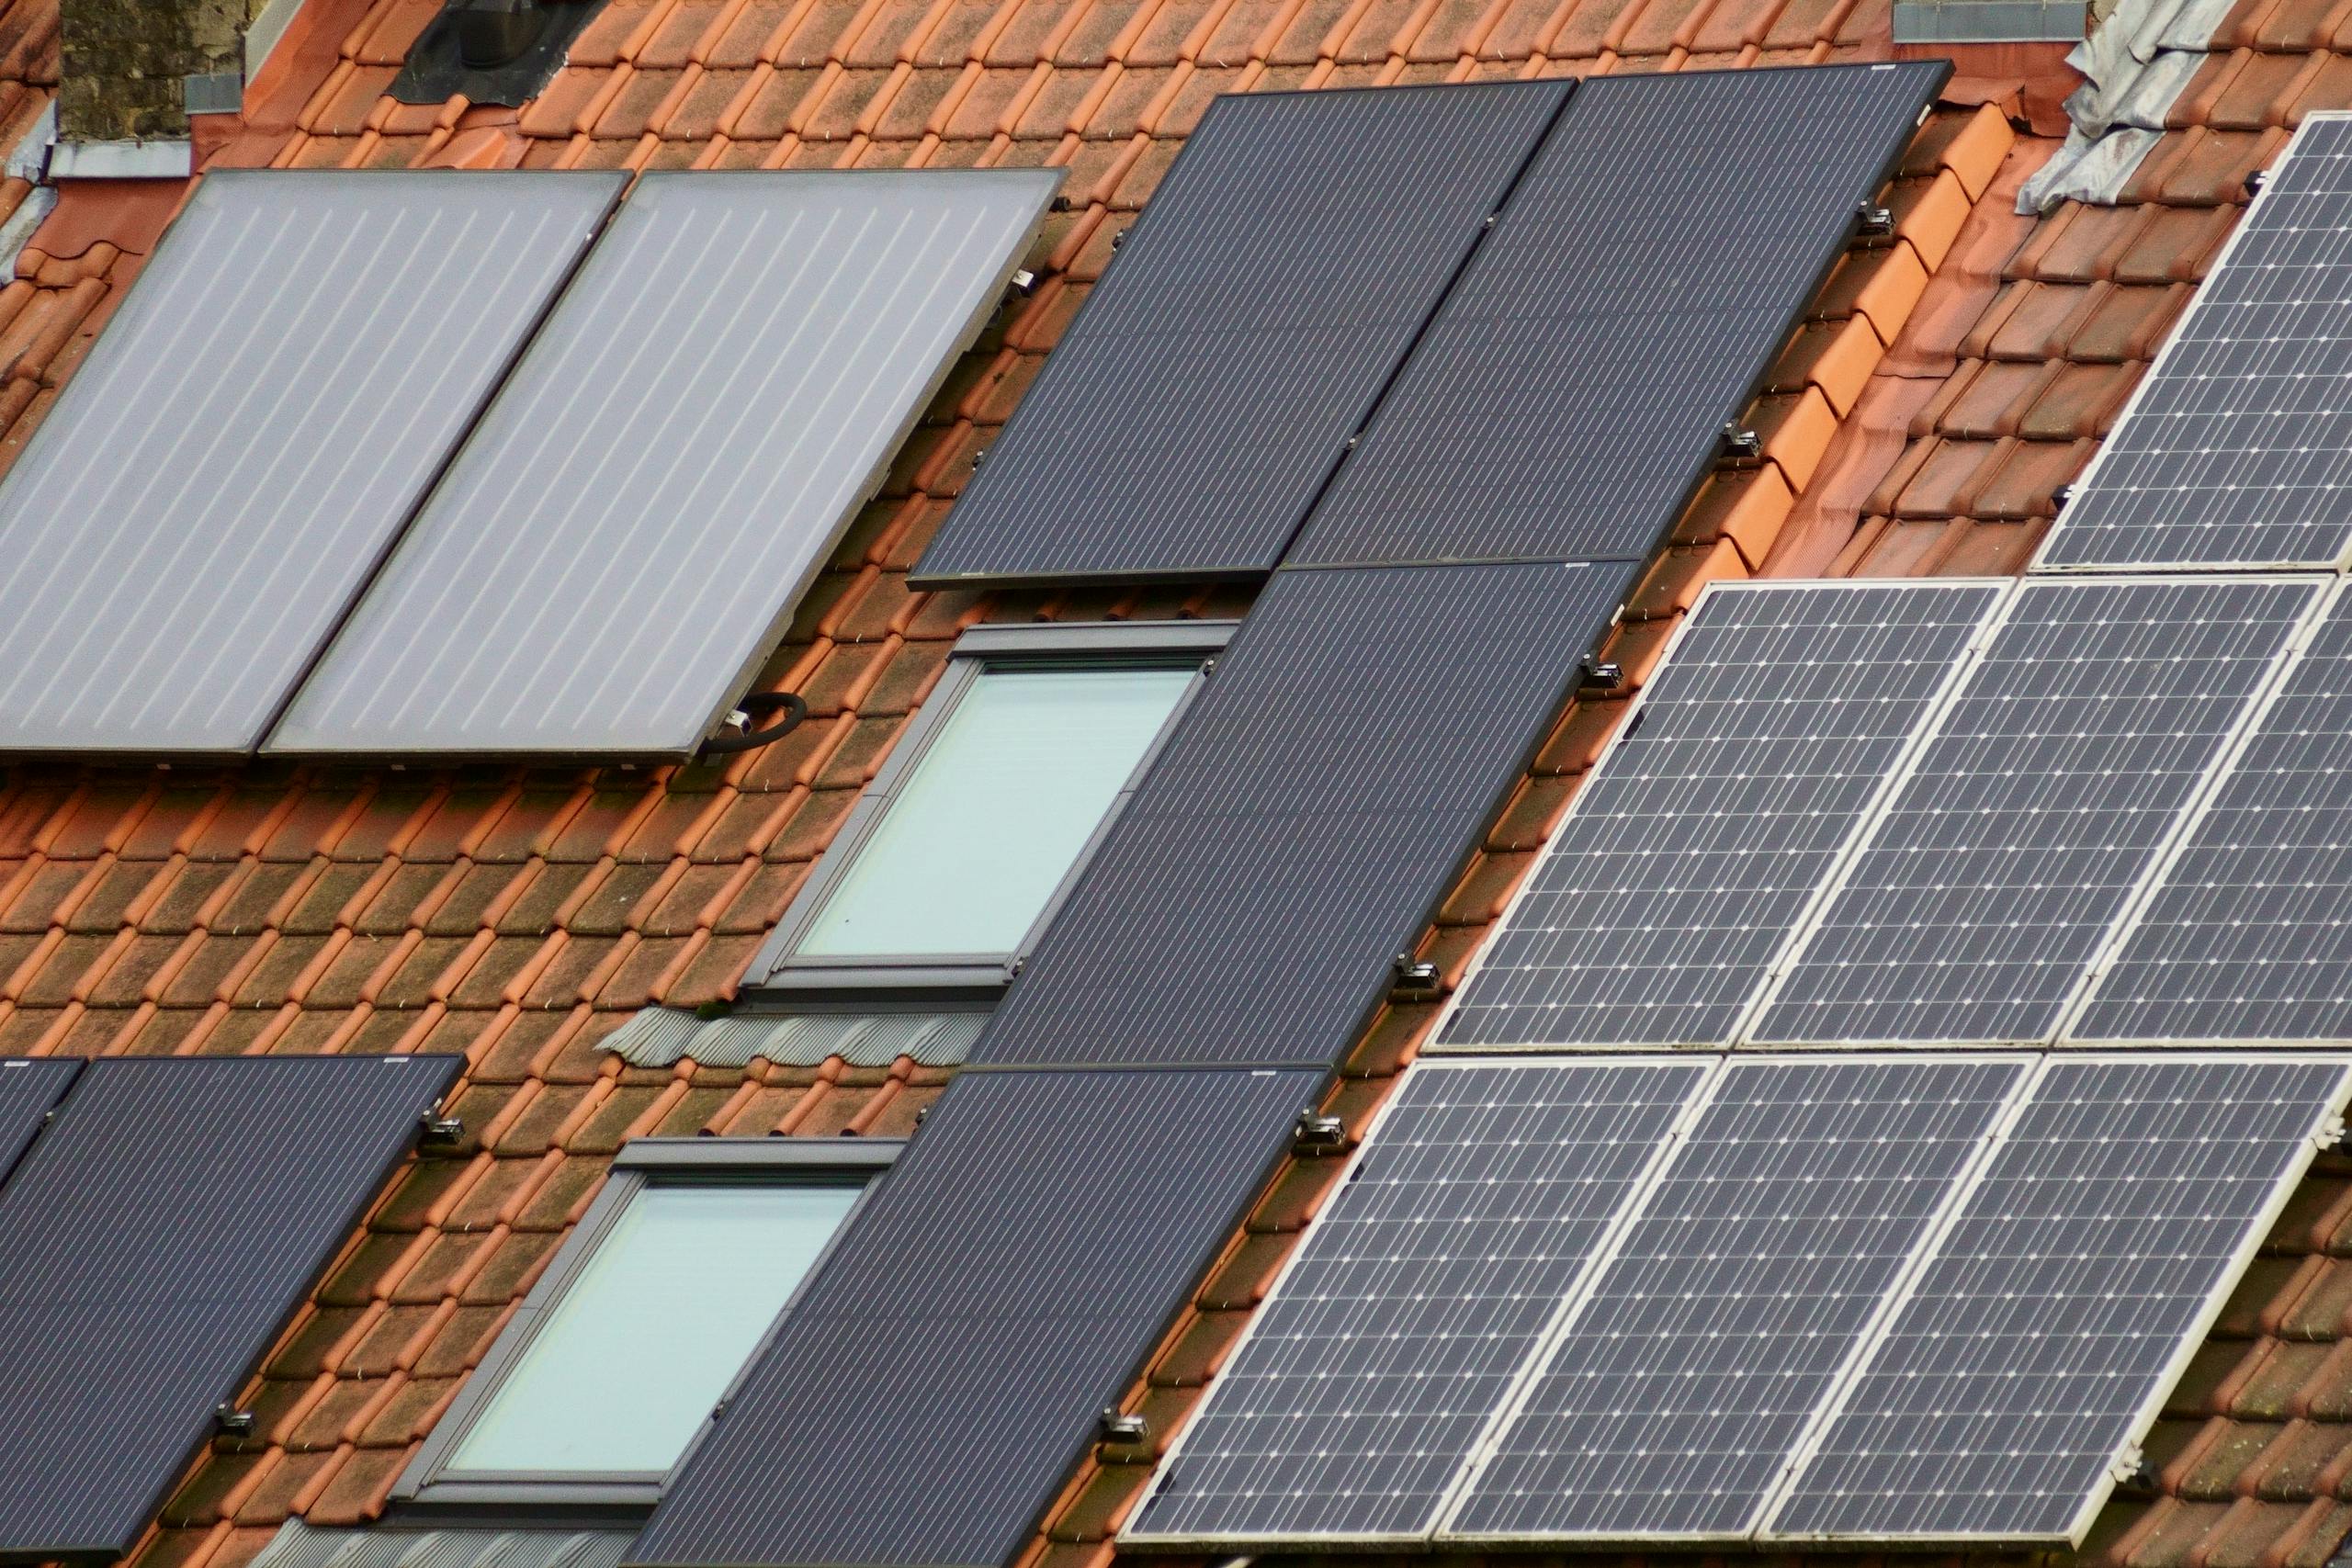
Install Roof Flashing and Rails
- Locate Rafters: Use a stud finder or building plans to locate rafters—mounting directly to rafters ensures strength.
- Attach Flashing: Lift shingles slightly and insert flashing under the upper layer. This acts as a water barrier.
- Secure Mounts: Drill pilot holes into rafters, insert lag bolts through the flashing and into the rafters, and tighten to the manufacturer’s torque specification.
- Attach Rails: Fix the aluminum rails to the mounts. Ensure they are parallel and level to prevent panel stress.
Mount the Solar Panels
- Position Panels: Place the first panel on the rails, aligning with your layout plan.
- Secure with Clamps: End clamps secure the outer edges of the panels. Mid clamps secure adjacent panels together.
- Check Torque: Tighten clamps to the specified torque to prevent damage.
- Electrical Bonding: Install grounding lugs and bonding jumpers as per electrical codes.
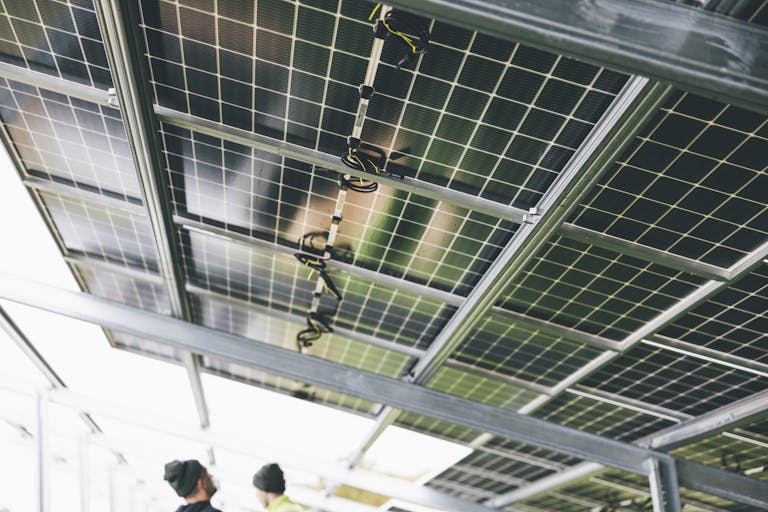
Connect the Wiring
- Series or Parallel: Depending on your system voltage, connect panels in series (higher voltage) or parallel (higher current).
- Use MC4 Connectors: Ensure all connections are weatherproof and polarity-correct.
- Cable Management: Use UV-resistant cable clips and conduit to keep wiring neat and secure, avoiding abrasion or exposure.
Final Inspection and Safety Check
- Mechanical Check: Verify all bolts, clamps, and mounts are tightened.
- Waterproofing: Ensure flashing is correctly installed and no gaps remain.
- Electrical Check: Measure voltage and polarity before connecting to the inverter.
- Safety Compliance: Confirm the system meets local building and electrical codes.
Maintenance Tips
- Inspect mounts and clamps annually for loosening.
- Clean panels periodically for maximum efficiency.
- Check for corrosion on metal components, especially in coastal areas.
Key Takeaways
- A proper installation balances structural integrity, weatherproofing, and electrical safety.
- Using quality materials like anodized aluminum rails and stainless steel fasteners extends lifespan.
- Always follow manufacturer guidelines and local regulations for the safest, most efficient outcome.