Roof Solar Installation Guide | Steps for Safe and Efficient Setup
Roof solar installation is one of the most effective ways to generate clean energy for your home or building. By utilizing existing rooftop space, solar panels can be installed without taking up additional land. As a result, property owners can reduce electricity bills while lowering their carbon footprint. In this guide, we’ll walk you through the key steps for a successful installation—from initial assessment to final grid connection—so that you can achieve a safe, efficient, and long-lasting rooftop solar system.
1. Site Assessment and Design

The first step is evaluating your roof’s structure, orientation, and sun exposure. Installers will check for:
- Roof material (tile, shingle, metal, etc.)
- Roof pitch and direction (south-facing is ideal in the Northern Hemisphere)
- Structural integrity (to support the system’s weight)
- Shading issues (trees, chimneys, etc.)
After assessment, a customized system design is created, including panel layout, inverter location, and wiring path.
2. Permitting and Preparation
Before starting installation, the contractor first secures all permits and local approvals. This step is essential because it ensures the system complies with building codes and utility requirements. Once everything is approved, the team moves on to prepare the roof for mounting. They carefully mark the layout, and then locate the rafters to position the anchor points accurately.
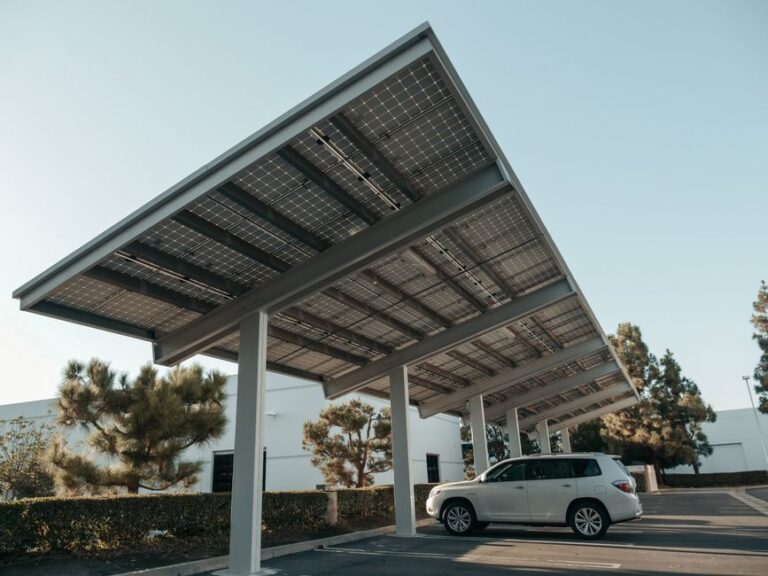
3. Mounting Structure Installation

Mounting hardware is then installed directly onto the rafters or purlins beneath the roofing material. This includes:
- Flashing to seal the penetrations and prevent leaks
- Rails made of aluminum or steel to hold the solar panels
- Mounting brackets or clamps to connect rails to roof structure
Mounting systems vary depending on the roof type. For example, metal roofs use standing seam clamps, while tile roofs often require tile hooks.
4. Panel and Electrical Installation
Once the racking system is in place, installers mount the solar panels using mid clamps and end clamps. After that, the panels are wired together into a string, connected to inverters, and integrated into your home’s electrical system. Safety shutoffs and grounding components are also added.
5. Inspection and Grid Connection
After installation, a city or third-party inspector must review the system. Once approved, the utility provider connects your system to the grid. From there, you can start generating solar energy and monitor performance via a mobile app or dashboard.

So, How to perform a roof solar installation? The process includes proper assessment, strong mounting, safe wiring, and inspection. For best results, always use certified installers and high-quality mounting systems—such as those provided by Wanhos—for long-term safety and performance.
One-click WhatsApp consultation Get the latest quotes and free design proposals