How To Mounting Solar Panels On Roof Of RV?
With the rapid development of solar technology, more and more RV enthusiasts are exploring mounting solar panels on roof of RV to enjoy a reliable, off-grid power source. In this guide, we’ll walk through the process step-by-step—from planning to installation—so you can power your adventures with clean energy.
- Understanding RV Solar Power Systems
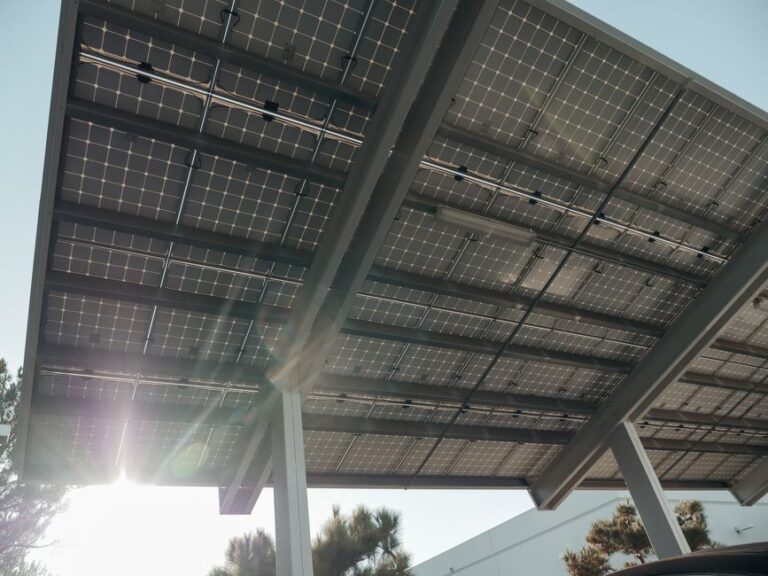
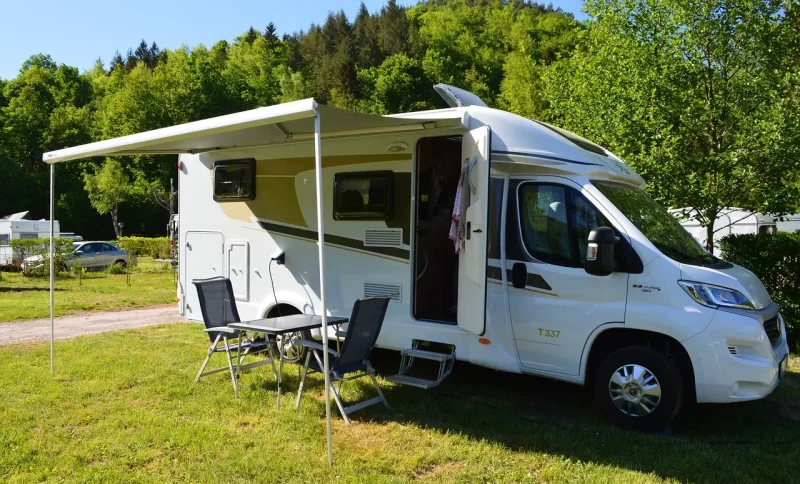
An RV (Recreational Vehicle) is more than just a vehicle—it’s a mobile home for travel, living, and entertainment. A solar power system converts sunlight into usable electricity, reducing reliance on traditional hookups and lowering energy costs. For RV owners, installing solar panels means greater freedom to camp in remote locations without sacrificing comfort.
- Identifying Your Power Needs
Before mounting solar panels on roof of RV, it’s essential to determine how much power you need. Typical RV solar setups aim to provide:
Sufficient Power Supply – Enough electricity to run appliances like lights, refrigerators, fans, and electronics.
Simple Installation – Compact, efficient systems that fit limited roof space.
Reliable Output – Consistent performance in varying weather conditions.
Easy Maintenance – Components that are durable and straightforward to service while traveling.
- Choosing the Right Components
A complete RV solar power system generally includes:
Solar Panels – The heart of the system. Choose panels based on your RV’s size, weight limits, and travel environment.
Glass Panels: High efficiency, best for stable road conditions.
Lightweight Panels: Flexible and less prone to vibration damage—ideal for rougher terrain.
Inverter – Converts the DC electricity from solar panels into AC power for your RV appliances. Ensure it matches your power needs.
Battery Storage – Lithium or AGM lead-acid batteries store energy for nighttime or cloudy days.
Charge Controller – Regulates power flow to prevent overcharging or over-discharging your batteries, extending their lifespan.
- Designing the Installation Plan
| Mount Type | Load Capacity | Installation Time | Best For |
| Aluminum Z-Brackets | 2400Pa | 15 min/panel | Rigid panel OEM kits |
| VHB Tape Systems | 1500Pa | 5 min/panel | Flexible panels |
| Adjustable Rails | 5400Pa | 25 min/set | Commercial fleets |
Plan your system layout based on your RV’s roof structure and available space:
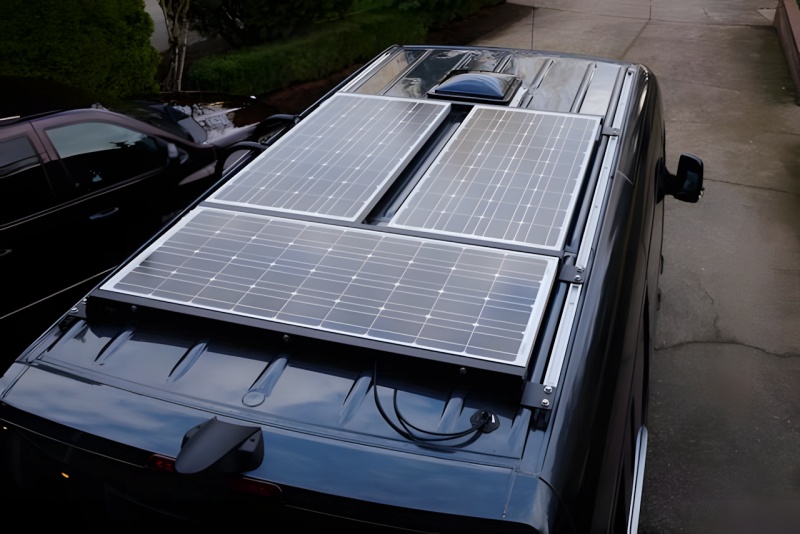
Panel Placement: Most panels are mounted flat on the roof for maximum sunlight exposure.
Component Positioning: Inverters and batteries are typically stored inside the RV in a ventilated area for safety and heat management.
Wiring Routes: Keep wiring short, secure, and protected from weather damage.
- Installation and Setup
Follow these general steps:
Secure the solar panels to the chosen roof location using mounting brackets or adhesive (for flexible panels).
Connect the panels to the charge controller with appropriate cabling.
Wire the charge controller to your battery bank.
Connect the inverter to the batteries and then to your RV’s electrical system.
Test the system to ensure stable, reliable output.
Tip: If drilling into the roof, seal all holes with weatherproof sealant to prevent leaks.
- Maintenance and Long-Term Care
Regular checks will keep your RV solar system running efficiently:
Clean Panels: Remove dust, dirt, and debris regularly for optimal performance.
Inspect Wiring: Ensure all connections remain tight and undamaged.
Monitor System Health: Check the inverter and battery performance periodically.
Preventive Checks: Look for corrosion, wear, or loose mounting hardware.
Final Thoughts
By carefully planning and properly mounting solar panels on roof of RV, you can reduce dependence on traditional power sources, save on energy costs, and enjoy a more sustainable, self-sufficient RV lifestyle. With the right system and routine maintenance, your solar power setup will keep you powered anywhere your travels take you.