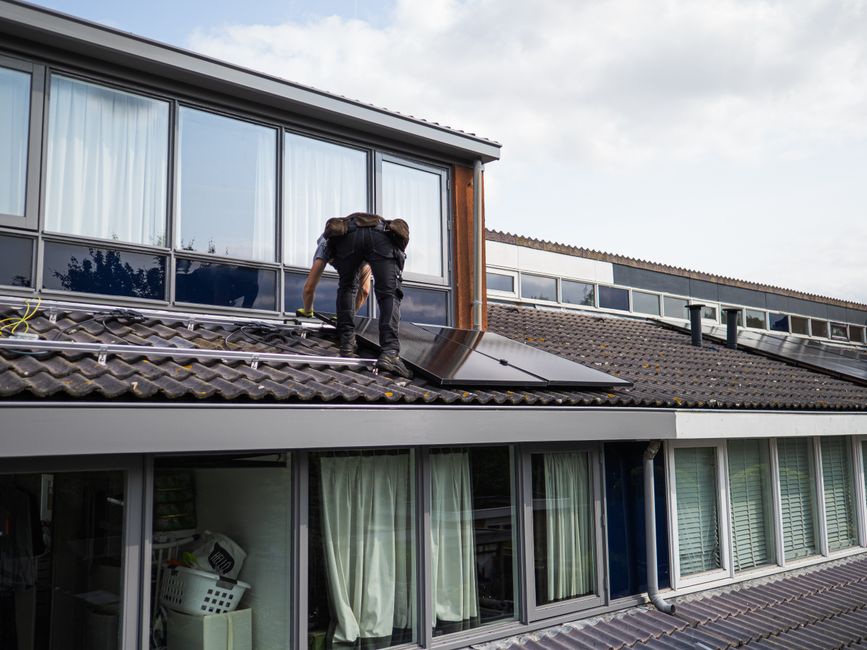
Installing Solar on a 45-Degree Pitch Roof: Mounting Challenges, Component Selection, and Safe Workflow
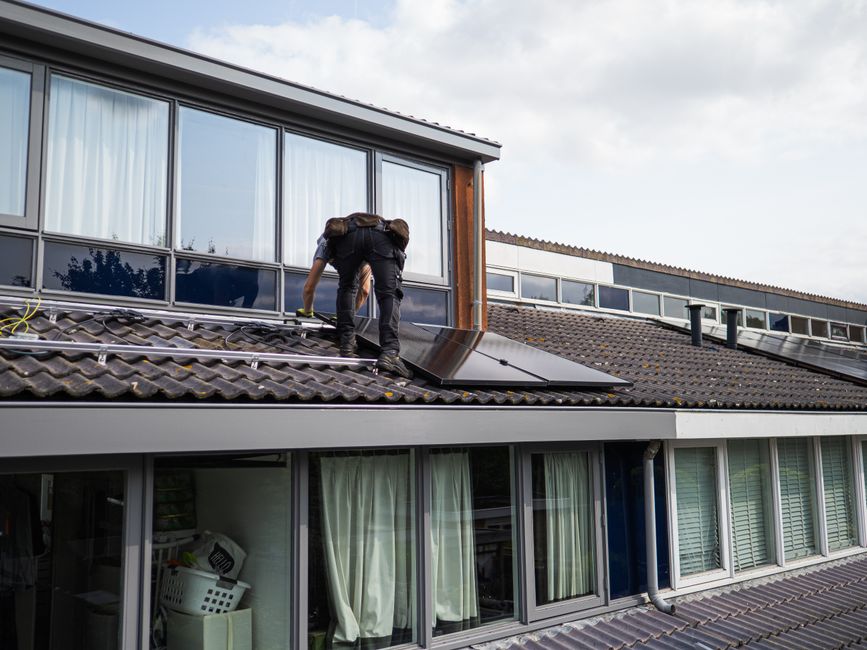
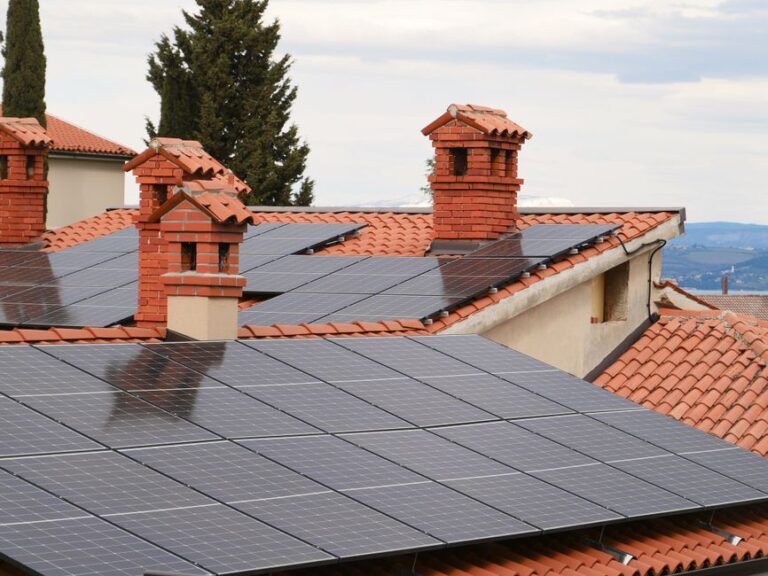
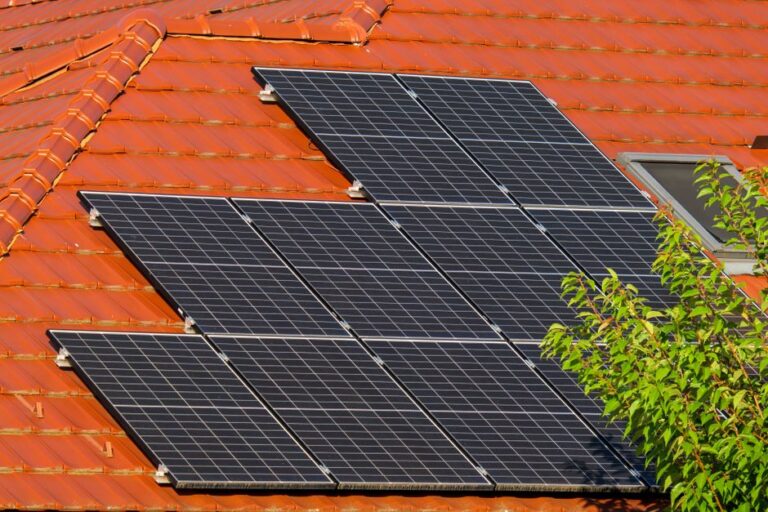
Mounting solar on a 45-degree pitch roof is not just a steeper version of a standard roof installation. The roof angle directly affects worker safety, module clamping forces, wind uplift distribution, and how the entire array stays in place for decades. If you treat it like a 20-degree roof, you will run into slipping hazards, undersized fasteners, and too much faith in gravity alone. This article covers what actually matters before you specify brackets, order rails, or send a team up onto that high-slope surface.
Key Takeaways
- A 45° pitch dramatically increases the down-slope force on modules. Clamp selection must resist both gravitational sliding and wind uplift, not just clamping friction on the frame.
- Installation safety on steep roofs demands a different workflow: proper anchor points, ladder restraint, and sequence planning to avoid working above unprotected edges.
- Roof penetration sealing becomes more critical because runoff speed is higher. Water can find its way behind flashings if the detail is not designed for fast water flow.
Why the 45-Degree Angle Changes Everything
On a low-slope roof, modules rest mostly by gravity. The force component parallel to the roof plane is small. At 45 degrees, that sliding force equals about 71% of the module’s self-weight. Add wind suction trying to lift the module, and you have a combination that standard mid-clamp pressure may not handle if the installer does not torque correctly or if the module frame edge is too near the clamp. I’ve seen modules shift by 5–10 mm after installation simply because the clamps were tightened to “feel” rather than a calibrated torque value.
Wind loads are also different. The peak wind pressure on a roof plane does not scale linearly with pitch. At 45°, the external pressure coefficient can shift significantly, and local building codes often require separate calculation for roof zones (edges, ridges, corners). This means a mounting layout that works for the field area may fail near the ridge line. Structural verification against uplift must use correct cpe values, not generic assumptions.
Safety First: Working on a 45° Roof
Many installers underestimate how quickly a 45° roof turns a simple task into a fall hazard. You cannot just walk on it. You need a secure platform system, roof ladders with ridge hooks, and individual fall arrest anchors for each worker. I’ve seen crews try to use roofing brackets and planks meant for 30° slopes; they slide or feel unstable. Always check the manufacturer’s load rating for the roof ladder bracket angle range. At 45°, the bracket grip on the ridge must be deeper and wider than standard models.
The installation sequence also changes. Start from the ridge or from scaffolding edge, working sideways, and secure the first row of modules firmly before moving down. Never install modules from the bottom up on a steep roof unless you have a full perimeter scaffold, because workers will be unprotected above the drop zone. For EPCs, planning this sequence in the method statement is not optional; it is a site safety requirement that impacts fixing layout and rail installation order.
Clamp and Rail Selection for 45° Pitches
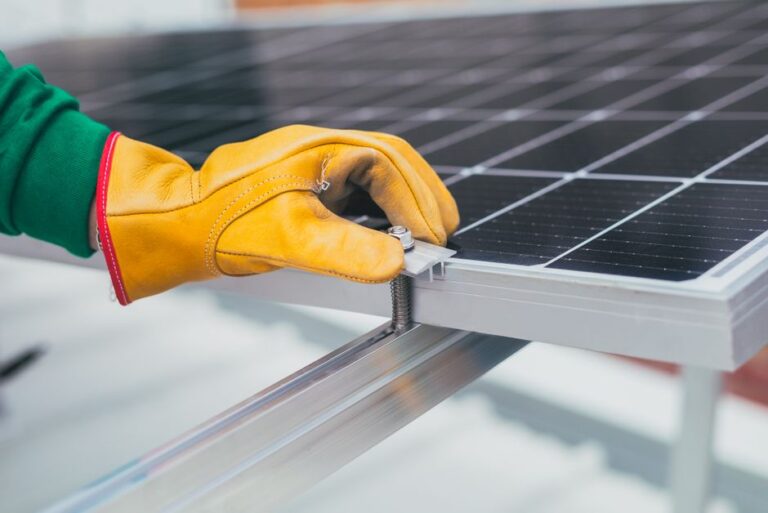
The standard mid-clamp you use on a 5° tilt flat roof carrier may not be suitable here. At 45°, you need clamps that engage the module frame with a deeper hook or a positive mechanical lock, not just friction. Look for clamps with a serrated surface or a profile that interlocks with the frame channel. This resists rotation and sliding even before full torque is reached.
Rail choice also matters. The rail profile must allow the clamp to sit perpendicular to the roof plane, not angled. Many rail systems have a slanted mounting base for tile hooks, but on a 45° rafter, the clamp orientation relative to gravity must be verified. If the clamp ears tilt because the rail top surface is not parallel to the roof plane, you get uneven pressure on the module frame, leading to stress marks and potential hot spots in laminated glass over time.
Field Observation: Torque and Frame Damage
I’ve inspected arrays where installers over-torqued clamps to stop movement on steep roofs. The module frame lip deformed, creating a permanent indent and a path for moisture ingress. Follow the module manufacturer’s clamping zone and torque specification, usually between 14–18 Nm for common 35mm frames. If the clamp design cannot hold the module without exceeding this torque, you need a different clamp, not more elbow grease.
Rafter Connection and Waterproofing on High-Pitch Roofs
The roof hook or bracket that fixes into the rafter must transfer wind download and uplift directly into the timber or steel structure. At 45°, the leverage on the bracket is higher because the module plane is further from the roof surface, especially if you use portrait-oriented panels. Bracket height should be minimized to reduce the moment arm, but enough clearance must remain for airflow and cooling. A 60–80 mm gap is common; engineering calc should confirm the local wind-induced bending moment on the bracket.
Waterproofing is where shortcuts hurt most. Fast-flowing rainwater on a steep roof can override basic rubber gaskets. Use flashing systems that integrate under the existing roofing material, not just a top seal. A double-layer EPDM or metal flashing with a water channel ensures that any water hitting the fastener head is redirected away from the rafter. Small gaps become leaks quickly because water travels faster and under more pressure at this pitch.
Rail-Based vs. Rail-Less Systems on Steep Slopes
Some project developers ask whether a rail-less direct-to-deck system can save money on a 45° pitch. The answer depends heavily on the roof structure. Rail-less systems rely on module frame strength and precise clamp-to-rafter alignment. On a steep roof, the alignment tolerance is tighter because any slight misplacement increases the twisting load on a single point. If the rafters are uneven or spacing varies, a rail system absorbs the misalignment, making it the safer choice for long-term stability. I generally recommend rails for pitches above 35° unless the rafter layout is extremely uniform and the module dimensions match the span perfectly.
| Factor | Rail-Based System | Rail-Less System |
|---|---|---|
| Misalignment tolerance | High – rails span irregular rafters | Low – each bracket must align perfectly |
| Clamp holding strength on steep roofs | Distributed across rail and module frame | Concentrated on module frame edge – risk of slippage if not locked |
| Installation speed | Slightly slower due to rail placement | Faster where rafter spacing is consistent |
| Airflow and cooling | Good with proper gap | Often reduced gap – may increase module temperature |
| Recommended for 45° pitch | Yes – provides mechanical stability | Only with careful engineering and lock clamps |
Procurement Considerations: What Specs to Check Before Ordering
When you request a quotation for a 45-degree pitch roof project, the mounting supplier needs more than just module dimensions and roof type. You should provide the exact pitch angle, rafter spacing, tile profile (if applicable), and local wind/snow load values. Without the pitch angle, a standard bracket selection may be completely wrong. Some suppliers offer generic “steep roof” kits that cover 30–60°, but internal components like the clamp pre-load and hook reach may differ for 45°. Ask for the specific design load values at that angle.
For commercial procurement managers buying in bulk for multiple projects, it helps to note that 45° roof hooks often require a longer bracket arm to engage the rafter safely while providing enough clearance for the tile or metal roof profile. This small difference changes the steel/aluminum weight and cost per kW. Comparing quotations without this detail can lead to missing parts during installation, causing delays.
What to Check in the Mounting System Datasheet
- Tested clamping force retention at 45° tilt under cyclic wind load simulation.
- Maximum rafter thickness and bracket adjustment range to suit your specific building.
- Corrosion resistance certification (e.g., salt spray test hours for aluminum and stainless steel hardware).
- Documented torque values for each fastener type—no “tighten until firm” language.
Common Installation Mistakes That Show Up Later
One subtle mistake is placing mid-clamps too close to the module edge. On a steep roof, the module frame experiences bending from its own weight plus wind. The clamping zone recommended by the module manufacturer (typically 200–300 mm from corner) must be respected, or micro-cracks can develop in cells near the clamp location. I’ve seen this on sites where installers pushed clamps out to the very edge to get more rail span, thinking it was harmless. After two years, snail trails appeared.
Another is forgetting to check that all rail joints are properly lapped and bolted. On a 45° pitch, thermal expansion direction matters. The rail should be able to slide slightly while staying aligned. If end clamps are too tight and prevent movement, the rail can buckle upward between fixings during hot days, lifting modules off the clamp seat. Always leave the specified expansion gap and follow the rail manufacturer’s jointing instructions.
FAQ
- Can I use standard roof hooks for a 45° pitch roof?
- Not necessarily. Standard hooks may have insufficient height adjustment or a bracket angle that does not sit correctly on a steep rafter. Look for “adjustable steep roof” hooks rated for the exact pitch angle. Verify the hook’s static load capacity at the angle, because the lever arm changes.
- What wind zone should I assume for a 45° roof?
- Wind loading depends on building height, exposure category, and local geography, not just roof pitch. However, a 45° pitch often experiences higher suction coefficients at roof edges and ridges. Always calculate according to your regional standard (AS/NZS 1170, Eurocode, etc.) and have the supplier’s structural engineer review the mounting layout for the specific roof zone.
- Is a rail-less system safe on a 45° pitch?
- It can be safe if the rafter spacing is precise, the module frame is robust, and the clamps provide a mechanical lock, not just friction. For most residential and small commercial projects, rails add a safety margin that often justifies the small additional cost.
- What is the minimum module clamp torque for 45° slopes?
- There is no universal number. Always follow the module manufacturer’s clamping specification. For typical 35 mm frames with aluminum clamps, around 16 Nm is common, but check your clamp type. Over-tightening damages the frame, under-tightening risks slip. Calibrated torque wrenches are not optional on these roofs.
- How do I prevent roof leaks at mounting penetrations on steep roofs?
- Use flashings that interleave under the roofing material uphill of the hook. A top-seal alone often fails because water pressure is higher. The flashing should create a shingle effect. Also, use a high-quality EPDM gasket with a metal backing plate to distribute compression evenly around the fastener hole.
Before You Specify the System
Every steep roof installation starts with good documentation. Send your mounting supplier the roof pitch, rafter type and spacing, tile/metal sheet profile, module dimensions and weight, wind and snow loads, and any local code requirements. Wanhos provides steep-roof solar mounting solutions that are designed with these real field conditions in mind—clamps tested for slide resistance at high angles, pre-assembled brackets that reduce on-site adjustment time, and verification support to match your project’s structural demands. Not every 45° roof is the same, and a conversation with an engineer who understands the difference saves hours on site. Contact our team with your roof layout and module spec, and we’ll help you get the mounting right the first time.